Trailer Safety Inspection Checklist: Key Takeaways
- Pre-trip trailer safety checklists catch issues before the trailer leaves the yard and help avoid DOT violations and fines
- In-transit checks detect issues on the road before they turn into hazards for other people and vehicles
- Post-trip inspections document wear or defects after the trailer is back and ensure it’s prepped for the next load
- Each trailer inspection checklist type captures different information at a different stage
- Digital inspection checklists are faster and more accurate than paper ones
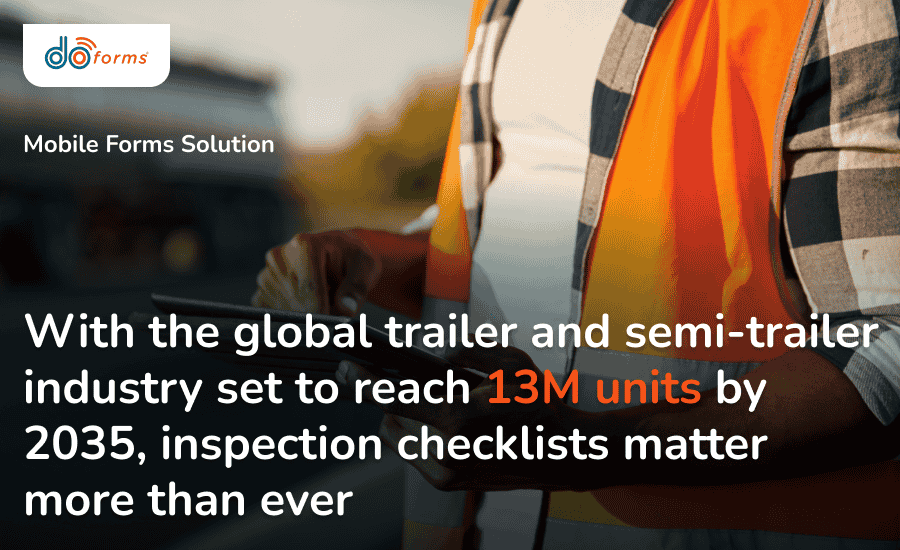
The global trailer and semi-trailer market is projected to grow to 13 million units by 2035.
With thousands of trailers cycling through yards and job sites every day, even small inspection misses can lead to roadside violations or delayed deliveries.
We’ll break down:
- The three types of trailer safety inspection checklists every fleet needs
- What to check during pre-trip, in-transit and post-trip inspections
- The key differences between paper and digital inspection methods
Still using paper trailer inspection checklists?
Go digital with doForms
Types Of Trailer Inspection Checklists
Most inspection programs fail not because checks are skipped, but because they’re done at the wrong time.
Trailer inspection checklists must cover three distinct time periods: before the trailer leaves the yard, while it’s on the road, and once it returns.
- Pre-trip trailer inspection checklists are used before every trip. They ensure the trailers meet Federal Motor Carrier Safety Administration (FMCSA) requirements. Missing this step can result in DOT violations, CSA score impacts or roadside breakdowns.
- The in-transit inspection checklist is filled out during stops or scheduled breaks. It helps identify issues that may have developed on the road. Catching those issues early helps prevent accidents and delivery delays.
- Post-trip trailer inspection checklists are completed at the end of each trip. Their purpose is to flag up parts that need repairing before your crew uses the trailer again.
Pre-Trip Trailer Inspection Checklist
Every trailer should be inspected before it leaves the lot, even if it came back from the same route yesterday without issues.
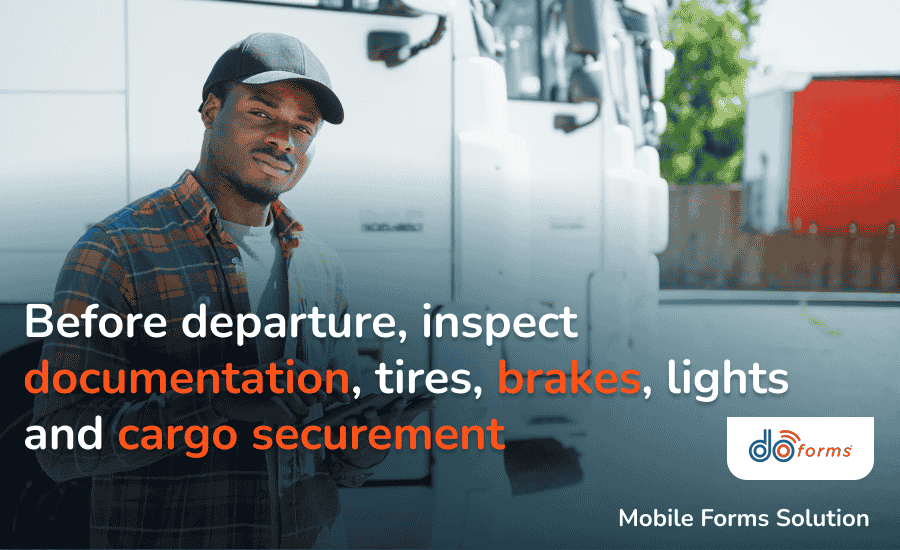
1. Verify Trailer Identification & Documentation
- Make sure the trailer is correctly assigned and legally labeled.
- Confirm that the dispatch sheet contains the right trailer number.
- Confirm that the license plate is clean, visible and secure.
- Verify the validity of the registration and permit.
- Ensure the VIN plate is intact and legible.
2. Examine Structural Integrity
- Evaluate the trailer’s overall condition.
- Check the walls and roof for cracks, holes, or deformities.
- Confirm there is no separation between the front wall, floor and frame.
- Examine frame rails and cross members for damage or corrosion.
- Verify that the DOT bumper is securely mounted.
3. Assess Tires, Wheels & Rims
- Confirm tire tread depth: it should be at least 4/32″ for the front and 2/32″ for the rear tires.
- Look for cracks, bulges, and exposed cords on sidewalls.
- Make sure the tire pressure meets required spec.
- Tighten any loose lug nuts.
- Inspect wheels and rims for cracks or leaks.
4. Check the Brake System
- Confirm stopping power is fully functional
- Connect air lines and listen for air leaks.
- Seal glad hands and confirm grommets are not cracked.
- Inspect brake chambers and slack adjusters for alignment and wear.
- Check brake components for signs of grease or fluid.
5. Test Lights, Reflectors & Electrical Systems
- Confirm that brake lights, turn signals, hazards and clearance lights are working.
- Walk around the trailer to make sure each light is functioning properly.
- Wipe down reflective tape to ensure visibility.
- Secure the 7-way electrical cord and inspect for frayed wires.
6. Inspect Coupling System
- Ensure the fifth wheel is fully engaged and locked.
- Check the kingpin for signs of bending or damage.
- Attach safety chains (if required) and cross them under the coupler.
- Raise and lock the landing gear.
7. Secure Doors, Seals & Load
- Open and close trailer doors to confirm they work as expected.
- Latch and lock handles.
- Inspect door seals; this is particularly important if there’re refrigerated units.
- Ensure all straps, chains or load bars are in place.
- Verify that the cargo is evenly loaded and secured.
8. Test ABS & Safety Systems
- Confirm all warning systems are working properly.
- Verify that the ABS light turns off after startup.
- Check the dashboard for active fault lights or dash alerts.
- Verify that you have a fire extinguisher, triangles or other required equipment.
9. Perform a Final Walkaround
- Look under the trailer for leaks or debris.
- Check for any odd noises or hissing from the air lines.
- Clear any hazards near the departure area.
A thorough pre-trip inspection helps catch common issues before they turn into roadside violations or breakdowns
In-Transit Trailer Inspection Checks
A clean pre-trip trailer safety inspection checklist doesn’t guarantee a clean delivery. Heat buildup, shifting cargo and vibration can lead to problems mid-route. That’s why it’s important to make quick checks during stops.
- Look around the trailer to check for fresh damage, fluid leaks, dragging parts or debris.
- Check tires and hubs for overheating, low air pressure, visible wear or hissing near valves or brake chambers.
- Make certain the load is secure by ensuring that straps, chains, load bars or bracing are tight and confirm that cargo hasn’t shifted.
- Test trailer lights and reflectors, cleaning off dirt or moisture that could reduce visibility.
- Confirm that latches are locked, hinges are undamaged, and there are no gaps or tears in the seals.
- Stop in a quiet area and check the air system for leaks or pressure loss.
Post-Trip Trailer Inspection Checklist
Once the trailer returns, your goal shifts from compliance to readiness. Post-trip trailer inspection checklists record damage, wear, or missing equipment before the next driver takes over.
- Walk around the trailer to inspect the exterior, frame and undercarriage for new damage, loose components, bent parts or fluid leaks.
- Check tires and hubs for wear, low pressure, sidewall damage or uneven heat buildup; these symptoms may point to issues with the alignment, bearings or brake system.
- Inspect the cargo area to confirm it is empty and properly staged.
- Check the doors, floor and walls for damages and confirm all load securement equipment is there.
- Confirm that brake lights, turn signals, marker lights and ABS indicators are working.
- Document all defects and unusual noises, and submit your trailer inspection checklist for maintenance follow-up.
Digital vs. Paper Trailer Inspection Checklists
Paper inspection forms work. However, they’re often associated with delays, unreadable notes, and missed defects.
Accuracy
You can easily skip entries when filling out a paper checklist or leave vague and illegible notes. Digital checklists use required fields, reducing errors.
Speed Of Submission
Paper forms are typically collected at the end of a shift or day. When inspections are submitted in a digital format from the field, maintenance teams see issues the same day, which shortens repair turnaround and reduces surprise breakdowns.
Visibility
Trailer defects jotted down on paper may go unnoticed until manually reviewed, delaying corrective action. Digital tools allow you to automatically flag defects and send alerts, ensuring immediate response and tracking.
Record Storage & Retrieval
If you’re still using paper, you must file every document manually and find enough space to store it. Among hundreds of other documents, it can be easily lost or damaged. Plus, finding old reports can take days and even weeks.
When you use digital trailer inspection checklists, they’re stored securely in the cloud, and you can easily find the one you need, filtering your files by date, trailer ID, driver, or issue type.
Compliance
It’s difficult to track whether inspections were missed or completed late when you’re using paper forms. With digital trailer inspection checklists, you can create automatic logs for every submission and get alerts if an inspection is skipped.
Read more about mobile vs. paper forms in our detailed guide.

Using digital trailer inspection checklists helps teams respond to problems sooner
Simplify Trailer Safety Inspections With doForms
Whether you manage 10 or 150 trailers, doForms can help your drivers, fleet supervisors and maintenance crews reduce inspection-related downtime by 30% by completing and submitting trailer inspection forms in real time.
A modern mobile forms solutions, doForms allows your teams to fill out pre-trip, in-transit and post-trip inspections right from their smartphone or tablet.
Plus, they can attach photos, signatures, GPS and additional notes to illustrate any issue on the inspected trailer and submit the forms instantly to your safety or maintenance team.
Your records are organized and stored in a secure, centralized location where you can access them any time you need them, whether for DOT audits, maintenance tracking or insurance documentation.
Tired of missing critical defects?
Flag trailer issues in real time with doForms!
Trailer Safety Inspection Checklist: FAQs
How often should my crews inspect trailers during transit?
There’s no legal requirement, but it’s recommended to perform a quick inspection at every fuel stop or rest break. With doForms, you can create a trailer inspection checklist that’s easy to complete on a mobile device, helping drivers document issues in real time instead of relying on memory at the end of a shift.
Can digital inspections replace paper DVIRs?
Yes, FMCSA allows electronic DVIRs as long as your records are accurate and you keep them for the required period.
Ready to streamline your inspection workflow with doForms?
Book A Demo