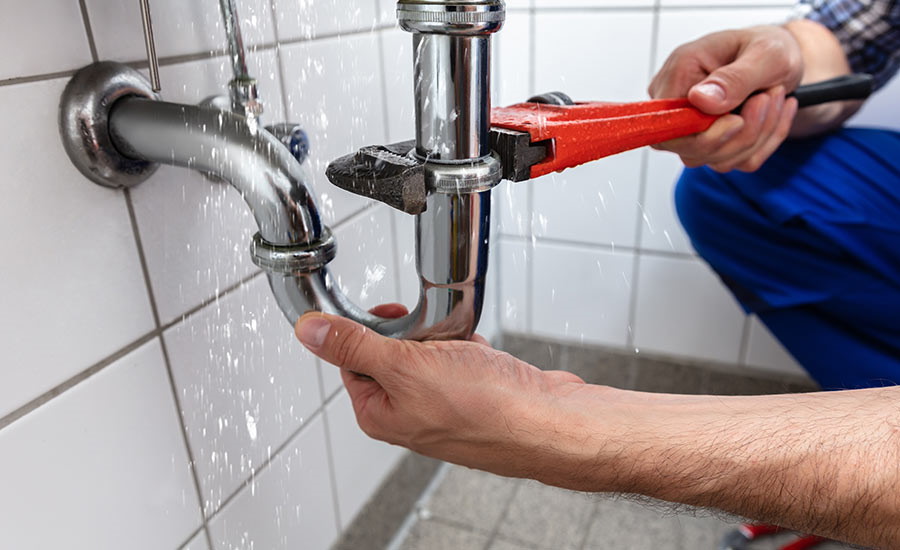
In the U.S., the average cost to repair a leaking pipe is between $150 and $350, often on top of an additional $100 to diagnose the leak’s location — and this is if you find the leak before the pipe bursts.
If Niagara Falls has already sprung, repair costs can skyrocket to nearly $4,000.
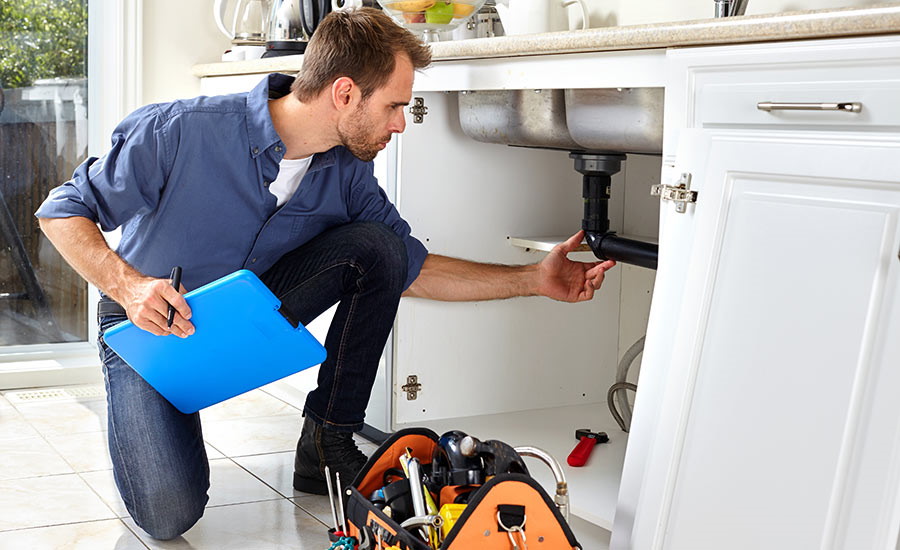
Routine regular plumbing inspections can help ensure small problems are diagnosed and repaired before they turn into larger problems.
A comprehensive plumbing inspection checklist is the best way to make sure no stone is left unturned, for preventative maintenance checks, seasonal inspections and more.
Ditching paper forms and digitalizing the process with mobile solutions like doForms can increase inspection accuracy, improve customer data security and streamline the entire process by allowing you to create, edit and share reports, maintenance requests, and more in real-time.
We’ll share our full plumbing inspection checklist, and explain the many benefits of going digital.
Table of Contents
Ready to build your plumbing inspection checklist?
Try doForms for free
Why Conduct a Plumbing Inspection?
Unlike peeling paint or a non-functioning smoke detector, plumbing problems may be difficult to spot until it’s too late. A hidden water pipe leak might end up damaging newly refurbished rooms or favorite photos, or a hot water system might go out just in time for house guests to arrive.
The main benefits of a routine plumbing inspection include:
Safety
A plumbing inspection reduces the risk for clogged drains or small leaks that can destroy valuable possessions and cause the growth of mold and mildew, posing health hazards.
Lower Water Bill
The average U.S. household wastes approximately 10,000 gallons of water every year due to leaks.
From dripping or old faucets to running toilets, leaky washing machines, and dishwashers, wasted water can significantly affect a household’s budget. Calling an expert to inspect the plumbing system and fix leaks can reduce the average water bill by 10%.
Reduced Chane Of Emergency Repairs
Regular plumbing inspections can help detect problems before they become an emergency, which can help cut down on costs. As mentioned, the cost of fixing a small leak is much less than the cost of repairing a pipe that has burst.
Also Read:
How Often Should Plumbing Be Inspected?
Typically, plumbing should be inspected by professionals once every two years. If the property or plumbing systems are older, inspections should be more frequent.
There are two types of plumbing inspections:
- A visual inspection performed to establish signs of leakage, loose fittings, faulty component connections and more
- A camera inspection where high-res cameras are used to inspect the inside of pipes for potential issues and prevent serious problems
Plumbing inspections are also recommended in certain circumstances, including:
Remodeling Or Upgrades
If kitchens, bathrooms, or laundry areas are undergoing renovations, a plumbing inspection can help make sure there are no issues that might arise.
Buying A New Home
Leaky pipes, clogged drains, and low water pressure can be indications of serious problems in need of repair. A home inspection, including plumbing, can help detect potential problems and protect investments.
Selling A Home
Showing proof of inspection when selling a home can also increase the value of the home to potential buyers, and give them peace of mind in knowing they won’t need to fork out extra money for plumbing repairs in the near future.
Plumbing Inspection Checklist
A detailed checklist ensures a thorough assessment of the plumbing system, from the smallest component to the largest.
Here’s what a comprehensive plumbing inspection checklist should include:
- Check walls and ceilings for stains
- Check water pressure
- Ensure the water system is watertight
- Inspect faucets for damages and leaks
- Check water drains for clogs
- Check toilets for loose fittings
- Check the directions for hot and cold water (hot to the left and cold to the right)
- Check plumbing components for signs of leaking, brittleness, or cracks
- Check pipe insulation for damages
- Ensure pipes fit properly
- Inspect valves for leakage
- Check temperature valves
- Check if all water lines are roughed in at the correct location and height
- Ensure med gas outlets are installed in the proper location
- Ensure the waste outlet is in the correct location and capped
- Ensure piping penetrations in floors and ceilings are sealed correctly
- Check the spigot for dripping
- Examine the drainage line for indications of damage and corrosion
- Ensure the gutter is unobstructed
To follow a more detailed checklist, you can separate tasks by inspection areas:
Kitchen
- Check sink drains: Check the strainer area and the P-trap. Tighten the P-trap fittings. Replace the strainer basket if there are signs of corrosion or leakage. Disassemble and clean P-trap or branch drain fittings, if the sink drains slowly and there are suspicions of clogging. Clean the kitchen sink drain regularly to avoid the buildup that would prevent water from flowing.
- Check faucets for leaks to eliminate the risk of water waste and high water consumption bills.
- Check the garbage disposal: Tighten the drain connections linking the dishwasher discharge and the disposer along with the connection between the disposer discharge and the sink drain. If there are leaks, replace the gaskets. If you notice an unpleasant odor, clean the garbage disposal.
- Check shutoff valves: Close the valves tightly to ensure no water is flowing. If water continues to flow, replace the valves.
- Check the refrigerator: If the refrigerator has an ice maker and water dispenser, replace the filter two times per year to prevent clogging. If the water supply hose shows signs of wear, replace it.
- Check the dishwasher: Inspect the water supply hose and the controlling shutoff valve. If it takes too long to drain or there is still water left after the cycle is completed, check if the discharge hose has been pinched or clogged.
Bathroom
- Check faucets: Check shower, sink and tub faucets for leaks and replace if needed. If the water pressure is weak, remove and clean the aerators from the accumulation of calcium buildup.
- Check drains: Clean the drains along with the tub and drain blocker from hair and other debris, to prevent clogs.
- Check toilets: Check the toilet base for leaks and replace the wax ring if needed. Make sure the toilet shuts off at the end of the cycle to prevent water waste.
Septic And Sewer Systems
- Check the septic system: If a drain field is used, inspect and service the system at regular intervals. If it is a tank system, empty the tank when it is filled.
- Inspect the sewer main: Check the sewer lines for blockages by observing how fast sinks and tubs drain.
- Check the vent pipes: Conduct a visual inspection of the vent pipes on the roof for indication of blockage.
Around Your House
- Monitor water pressure: Use a pressure gauge to test water pressure and ensure it is at a safe level. If the water pressure is too high, replace or repair the pressure regulator.
- Inspect the washing machine: Examine the water hoses for indications of wear or external damage. Inspect the cold and hot water hoses to ensure they stop the water flow completely when closed, and replace if needed.
- Check the water heater: Check the cold water inlet pipe and hot water exit pipe along with the water heater base for signs of leakage. Flush the water heater every few years to remove sediment accumulated on the bottom. If the water heater is gas-powered, inspect and clean it.
- Check the sump pump: If there is an under-floor drainage system and sump pit, fill the sump pit with water and make sure the pump works properly.
- Inspect the branch shutoff valves: Replace valves as needed.
- Check outdoor house spigots: Check outdoor spigots for signs of cracking or leaks and replace if needed.
Use a plumbing inspection checklist to ensure all components of the plumbing system have been checked for leaks and other issues
How To Create A Digital Plumbing Inspection Checklist With doForms
Besides the obvious threat of being ruined during leaky pipe repair, keeping your business data on paper has plenty of additional downsides. For one: cost. An average business spends as much as $8,000 per year on paper!
If you’re still using paper checklists and manual filing systems, it’s time to switch to mobile forms.
While paper records result in lost data, misfiled information, and poor customer service, doForms provide a streamlined process to improve efficiency, keep customer data safe and boost productivity.
How do you create a digital plumbing inspection checklist? It’s simple.
With doForms you can choose a template from our library to edit, or you can create your own custom form.
Fill out plumbing inspection checklists on the spot, create and dispatch work orders and manage employees in real-time, wherever you are.
All data is kept secure and accessible by approved employees from any device at any time. View real-time information on past inspections, repairs and upcoming scheduled maintenance activities to streamline operations and provide excellent customer service.
Ready to say goodbye to paper forms?
Try doForms for free
Wrapping Up
Regular plumbing inspections can help prevent major issues and ensure equipment is working properly, but time-consuming paperwork that can easily get ruined or misplaced isn’t cost-effective or productive for your business.
With doForms, you can create a templated or customized plumbing inspection checklist to improve data accessibility, inspection accuracy and overall productivity to save time, save money and boost customer satisfaction.